Şu anda mevcut
Doba
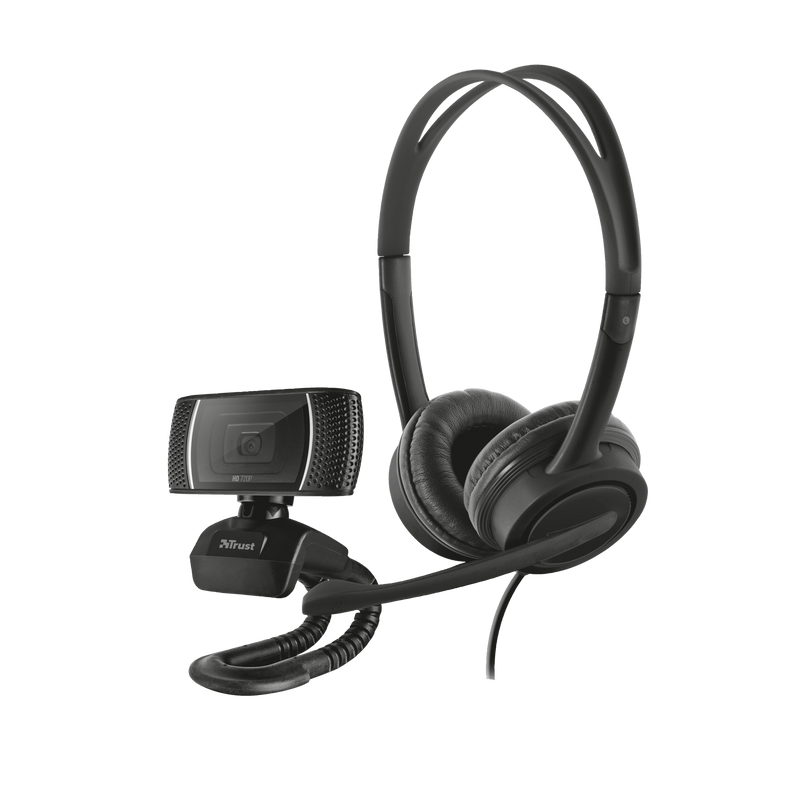
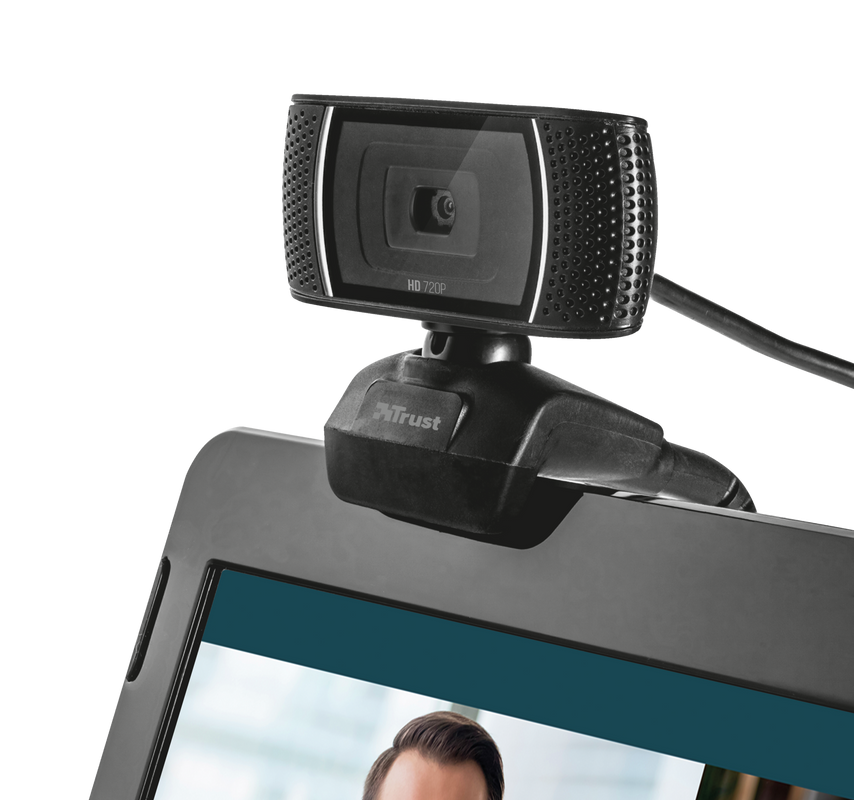
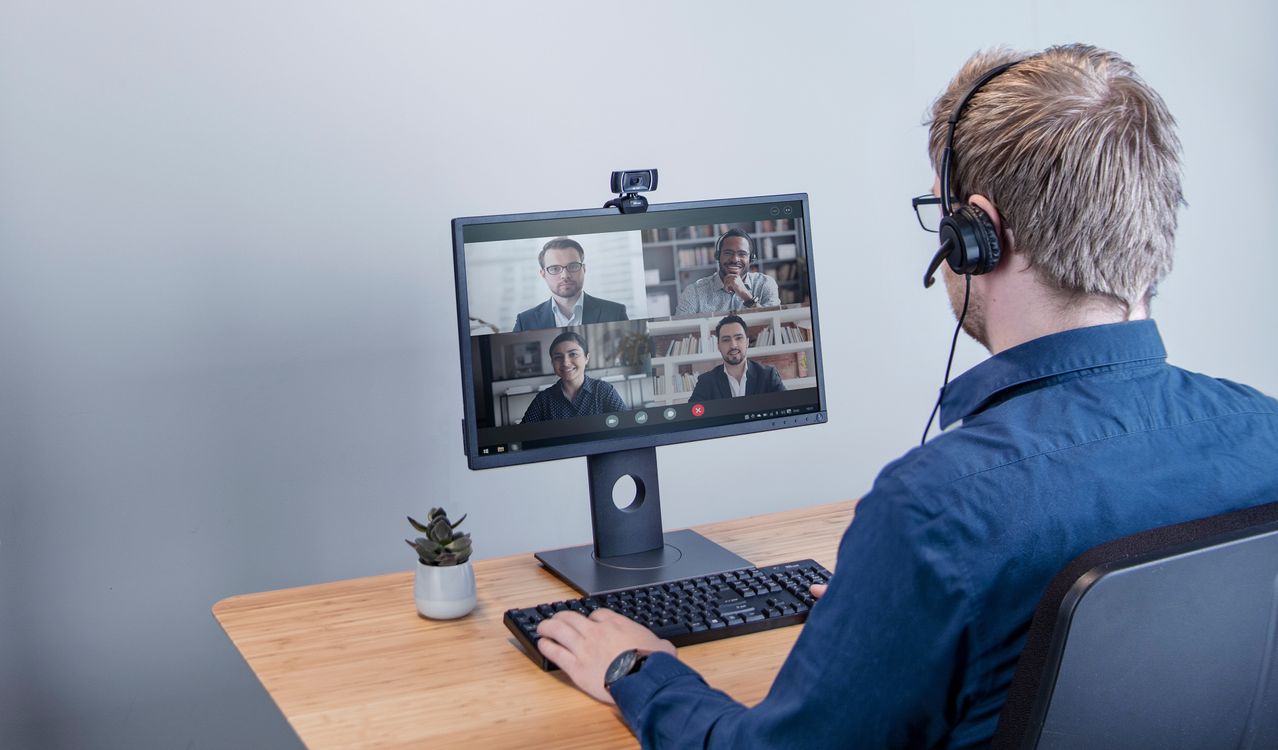
2’si 1 Arada Ev Ofisi Seti
2’si 1 Arada Ev Ofisi Seti: Rahat video görüşmeleri için HD webcam ve kulaklık seti


Video Görüşmelerine Hazır
Evden ya da ofisten çalışıyor olmanız fark etmiyor. Video görüşmeleri, meslektaşlarınızla, iş ortaklarınızla ve aile fertleriyle tüm dünyadan bağlantı kurmanızın yeni ve kolay yolu. Trust Doba 2-in-1 Home Office seti, herkesi berrak bir ses ve temiz bir görüntüyle arayabilmeniz için HD webcam ve konforlu bir kulaklık içeriyor. Tüm Video Sohbet uygulamalarıyla da çalışıyor.
product-specifications
Özellikler
Ekstra bilgi
Ürün numarası
24036
EAN-kodu
8713439240368
Garanti
1 yıl
Ambalajın içeriği
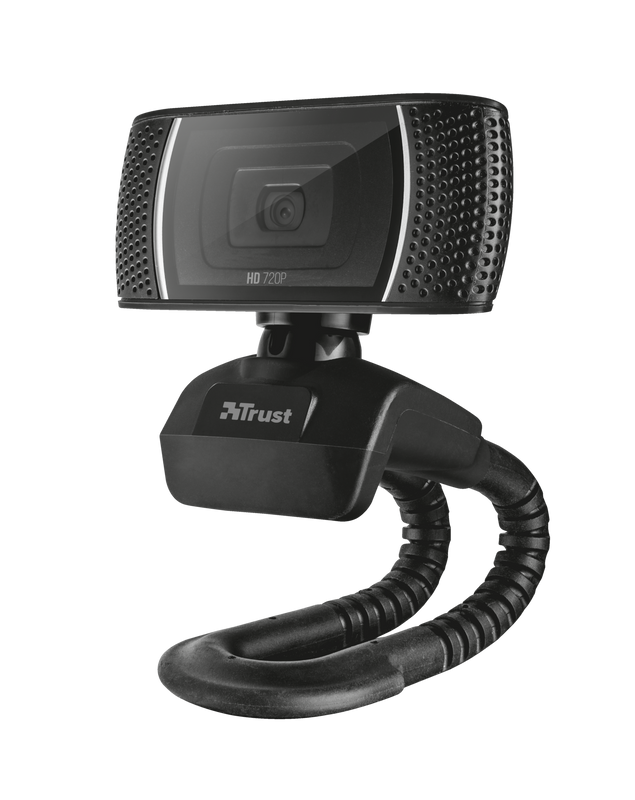
Webcam
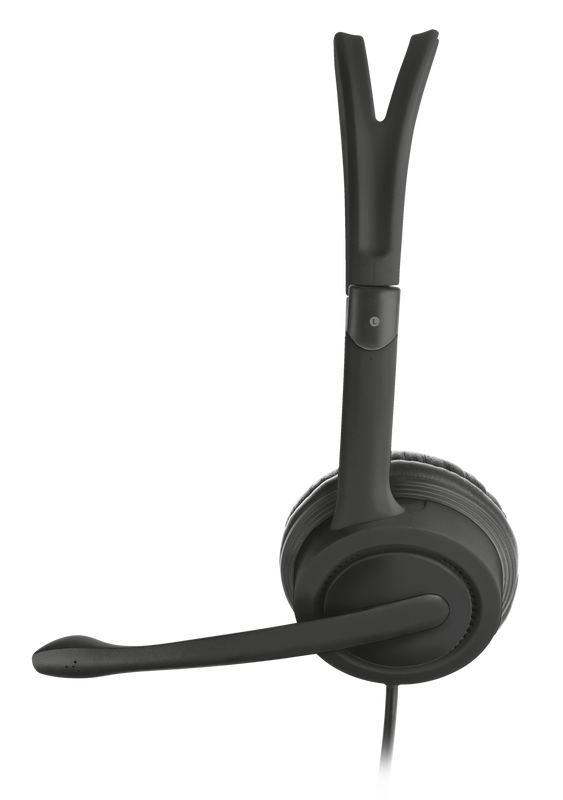
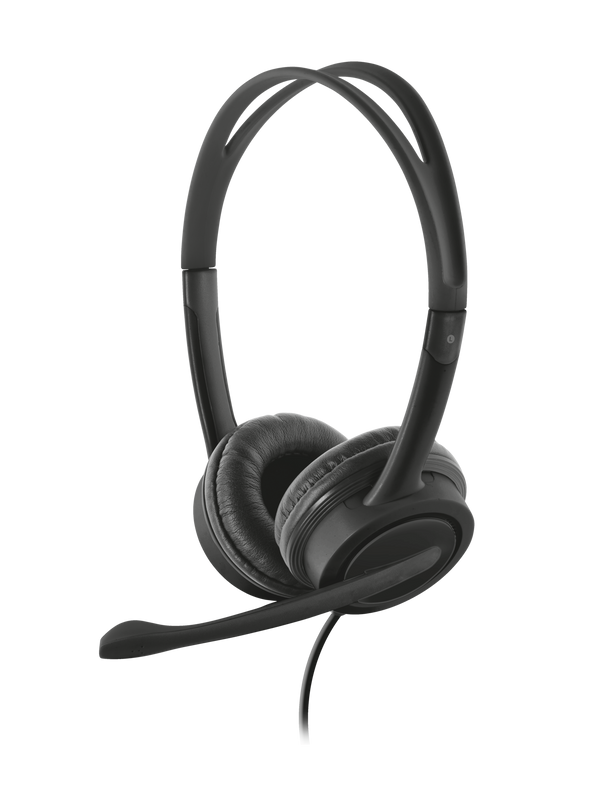
Kulaklık seti
Kullanım kılavuzu
Sistem gereksinimleri
Windows 10, 8 veya 7
macOS 10.15 (Catalina) ya da daha üst sürüm*
Chrome OS*
Webcam için USB yuvası
Kulaklık için USB yuvası
Uyumluluk işletim sistemine göre değişebilir
faq
FAQ
Sıkça Sorulan Sorular (FAQ)
The webcam functions with the built-in functionality of the computer.
To install
- Connect the webcam to the computer
- On Windows 10: Make sure the microphone is allowed in the Microphone Privacy settings to be used by applications.
- Set both the webcam and its microphone as the default sound input and sound output device on the computer.
- The webcam is ready to use.
When you use the webcam with an application such as Teams, Zoom, Skype, you have to set the webcam and its microphone as the default sound device in the settings of that application too.
For extra functionality (i.e. use of the snap shot button) the file on the website can be downloaded and installed, however this is not needed for normal functioning of the webcam.
- Make sure your system is up to date
- Unplug the headset and restart the system.
- When your system has completely loaded, connect the device directly to the USB port without using a hub or an extension cable.
- Check in the Device Manager if the product is correctly installed or if there is any error message reported.
- On Windows 10: Verify that the microphone of the headset is allowed to be used by applications in the Microphone Privacy Settings.
- When the device is recognized by the system, you need to set it as default device for sound input and output in the Sound Settings.
- If the headset includes an inline remote, make sure that the controls on the remote such as headset volume and/or microphone mute are set correctly.
- The headset is ready to be used.
This is a Windows setting.
In Windows 10, use the Privacy page to choose which apps can use a particular feature. Select Start > Settings > Privacy. Select the app and choose which app permissions are on or off.
- Make sure that webcam has been correctly installed
- When using Windows 10: Make sure the webcam (and if applicable, its microphone) are allowed in the Privacy settings to be used by the application
- In order to use the webcam with a program, we would advise you to select the Trust webcam as the default video and audio recording device in the configuration menu from the software you are trying to use the webcam with.
- For more information, please refer to software’s user information or contact the manufacturer for specific troubleshooting, which is usually available via the website of the manufacturer.
Unfortunately, we do not have service centers to repair products.
A defective product should be replaced by your point of purchase during the warranty period.
We offer a 'return to retailer' warranty on our products. In case of a defect, you can return the product to your retailer with failure description, proof of purchase and all accessories. During the warranty period you will receive a replacement product from the retailer if available. For full warranty conditions you can consult: https://www.trust.com/support/warranty
supportMail
Bize Ulaşın
Bize Ulaşın
Please check our FAQs first, chances are you'll find the answer there.
Couldn't find the answer in the FAQs? Fill out the form below with as much information as possible and one of our help-desk staff will respond at the earliest opportunity. Our messages are answered in the order they are received.
After submitting the form a confirmation message will be displayed with your reference number. The confirmation will be sent to your email address at the same time as well. If you have not received the confirmation message, please check your spam or junk mail folder. Otherwise, fill out the form again with your correct e-mail address.