Это «устаревшее» изделие выведено из ассортимента продукции компании Trust.
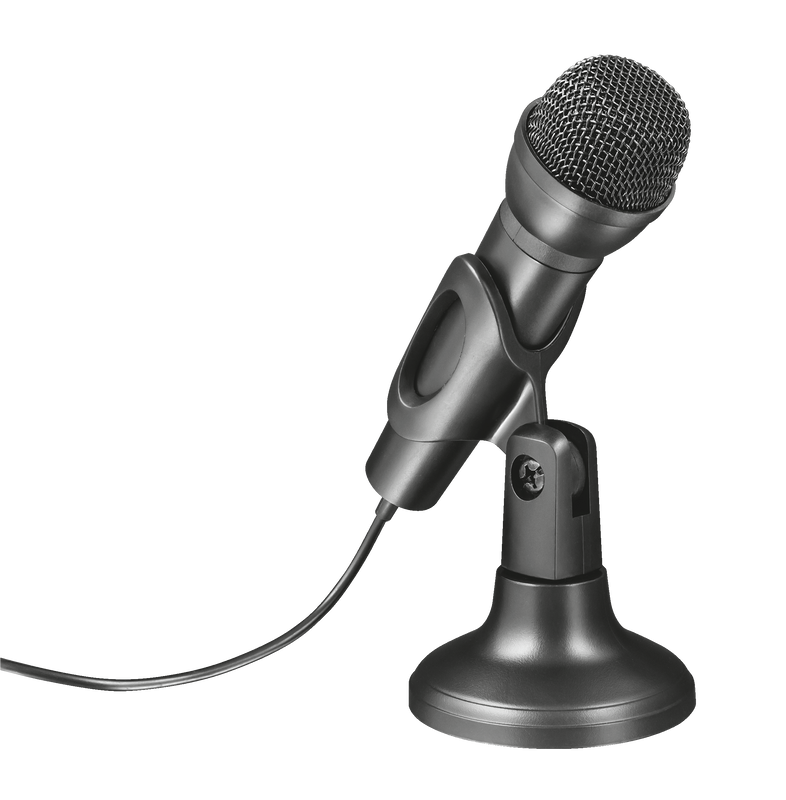
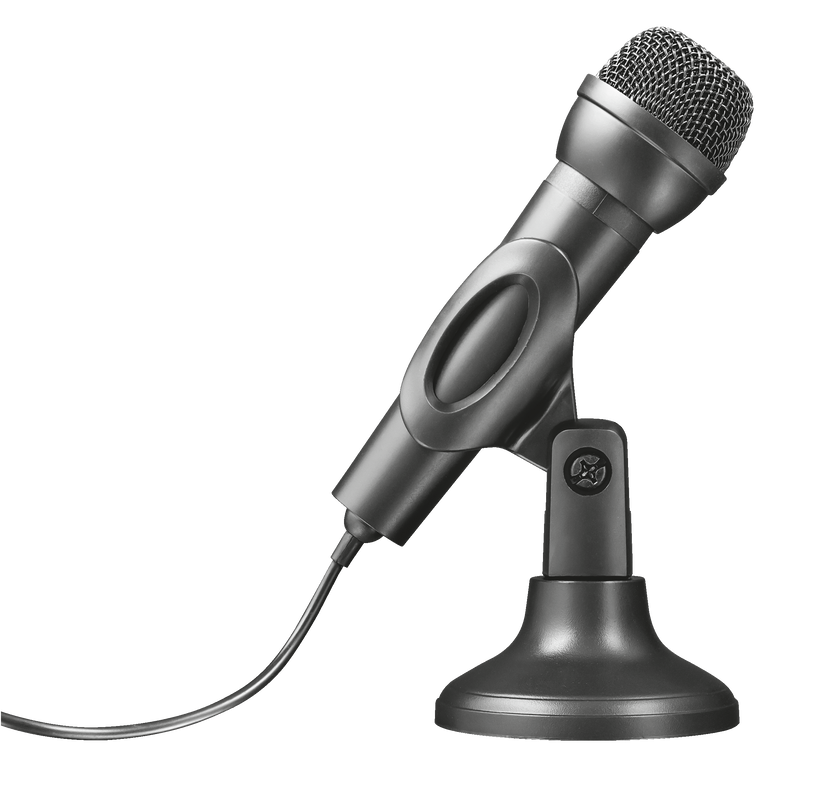
Микрофон
Ручной микрофон с настольной подставкой


product-specifications
Технические характеристики
General
Application
Desktop
Control
Controls
mute
Connectivity
Connection type
wired
Connector type
3.5mm
Cable length main cable
130 cm
Audio
Frequency response
100 Hz - 10.000 Hz
Microphone
Sensor type microphone
condenser
Pick-up pattern
Omnidirectional
Compatibility
Compatible Software Platforms
Windows
Дополнительная информация
Артикул
22462
EAN-код
8713439224627
Гарантия
1 год
Комплект поставки
Микрофон
Подставка
Руководство пользователя
Системные Требования
Разъем для подключения микрофона (3,5 мм)
faq
FAQ
Часто задаваемые вопросы (FAQ)
1. Connect the microphone to the microphone port of the computer.
2. Switch the microphone on with the on/off button on top of the microphone.
3. Set the microphone as the default input device in the sound settings/preferences on the computer.
If you are using Windows 10 and the microphone is not performing optimally (e.g. too low volume), we would advise to check the Windows audio drivers. Make sure the audio drivers (e.g. Realtek drivers) are up-to-date by downloading and installing the latest audio drivers via the website of the computer's manufacturer.
When you hear background noise, check the microphone properties and make sure that the option "Listen to this device" is not activated.
This microphone doesn't need a special driver, it functions with the built-in Windows driver.
- Make sure the computer is fully updated via windowsupdate.com
- Unplug the microphone.
- Restart the computer.
- When Windows has fully restarted, connect the microphone to the computer.
- The computer will recognize the microphone and install the built-in driver, this might take a few moments.
- After this, make sure to select the microphone as the default sound input device on your computer in the Windows Sound Settings.
- Also check that the microphone is not muted in the Sound Settings.
- And doublecheck in the Microphone Privacy settings that the microphone is allowed to be used by apps/software.
Unfortunately, we do not have service centers to repair products.
A defective product should be replaced by your point of purchase during the warranty period.
We offer a 'return to retailer' warranty on our products. In case of a defect, you can return the product to your retailer with failure description, proof of purchase and all accessories. During the warranty period you will receive a replacement product from the retailer if available. For full warranty conditions you can consult: https://www.trust.com/support/warranty
This is an analogue microphone and should work with any device supporting a 3.5 mm microphone connection.
Nevertheless, some MAC systems do not support a 3.5 mm microphone connection, working exclusively with their built-in microphone.
We advise to verify that your Mac system has a suitable 3.5 mm microphone input connection.
The pick-up pattern of a microphone is the sensitivity to sound relative to the direction or angle from which the sound arrives, or how well the microphone "picks up" the sound from different directions. The most common types are: Cardioid, Omnidirectional, Unidirectional, Bidirectional.
CARDIOID
The most commonly used pattern is most sensitive at 0° (the front) and least sensitive at 180° (the back). This isolates it from unwanted ambient sound. You can use this for most recording applications. It is easy to get a good signal as the cardioid pattern blends out a bad sounding room, a noisy fan in the background, etc.
OMNIDIRECTIONAL
The omnidirectional microphone has equal sensitivity at all angles. This means it picks up sound evenly from all directions. Therefore, the microphone need not be aimed in a certain direction. It will be especially useful in good sounding rooms.
UNIDIRECTIONAL
Unidirectional microphones are most sensitive to sound arriving from directly in front (at 0°) and less sensitive in other directions. This makes unidirectional microphones effective at isolating the desired sound from both unwanted sound and ambient noise.
BIDIRECTIONAL
A bidirectional microphone (with figure-8 pattern) picks up the sound from in front of the microphone (at 0°) and from the rear (at 180°), but not the side (at 90° and 270°). It can be beneficial in situations where you do not want a signal coming from a 90° angle to bleed into the microphone.
supportMail
Связаться с нами
Связаться с нами
Please check our FAQs first, chances are you'll find the answer there.
Couldn't find the answer in the FAQs? Fill out the form below with as much information as possible and one of our help-desk staff will respond at the earliest opportunity. Our messages are answered in the order they are received.
After submitting the form a confirmation message will be displayed with your reference number. The confirmation will be sent to your email address at the same time as well. If you have not received the confirmation message, please check your spam or junk mail folder. Otherwise, fill out the form again with your correct e-mail address.